Gold Sputter Coater
Safety Information and Overview
| Advanced Science Research Center | Graduate Center CUNY |
|---|---|
| Date | 5/30/2025 |
| SOP Title | Manual Operation of the AJA Orion 8 Sputter Tool |
| Principal Investigator | Samantha Roberts |
| Department | NanoFabrication Facility |
| Room and Building | ASRC G.263 |
Section 1 – Process or Experiment Description
This SOP is only for the general use of depositing thin films. Only approved users are allowed to use the equipment, after training with the tool manager. Any maintenance will be done by trained staff members. Some maintenance creates additional hazards which will be described in the Instrument Manual.
*Note: Any sample preparation is to be done by the user, and this document does not cover any information related to sample preparation. Any materials listed outside of the approved list, must be discussed with the tool manager.
Section 2 – Hazardous Substances
Substance Name: Gold
Abbreviation: Cr
Section 3 – Potential Hazards
| Hazard | Hazard Sign | Hazard Description |
|---|---|---|
| Gold | 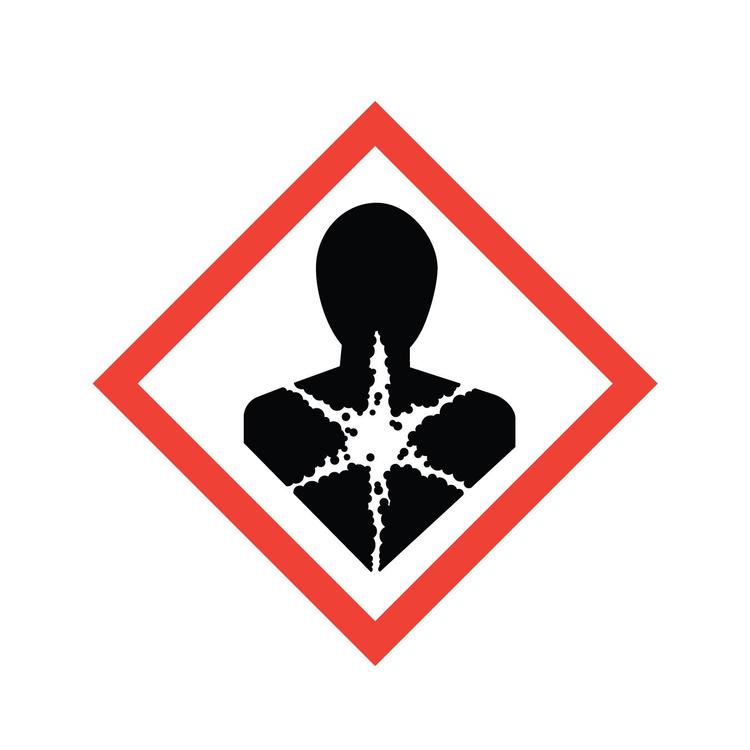 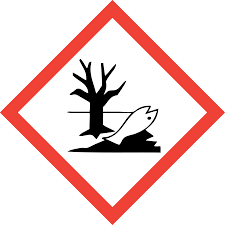 |
Gold is toxic to aquatic life in nanoparticulate form. Inhalation risk from dust or nanoparticles in poorly ventilated areas. |
Section 4 – Routes of Exposure
Inhalation hazard is present during handling or cleaning the chamber walls in a poorly ventilated area. The hazard is also present if the chamber did not have sufficient time to vent to atmospheric pressure.
Section 5 – Personal Protective Equipment
All personnel are instructed to clean the chamber in the designated fume hood with goggles, and dispose of the dirty wipes in the chemical waste bin.
Section 6 – Waste Disposal
| Hazardous compound, element, or chemical name | State (L,G,S) | Hazardous | Non-hazardous | Which hazards? | How is waste managed? |
|---|---|---|---|---|---|
| Gold | S | x | Solid waste is toxic to environment and human health | Must be collected and disposed of as Hazardous waste |
Tool operation
Hardware Description and Principle of Operation
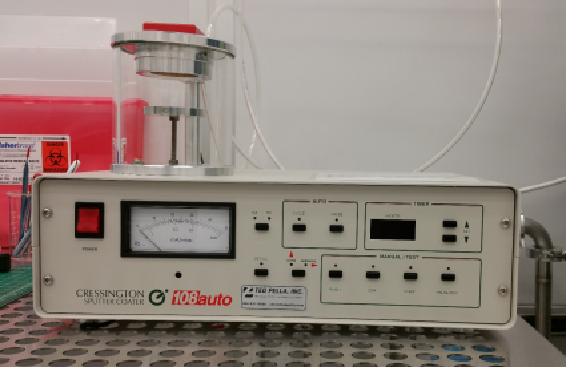
Cressington 108 Auto Sputter Coater
Non-conducting samples placed in an electron microscope will build up charge on the surface, thereby diminishing image quality. One way to reduce the effects of surface charging is to coat the sample with a conductive material to give the electrons used to image the sample a path to ground. Sputter coating with Au or Au:Pd is one method to achieve this. Sputter coating uses ionized argon to vaporize gold atoms from a target and deposit them in a thin layer onto a sample.
Material Requirements
Equipment: substrate and tweezers
Personal Protective Equipment: nitrile gloves
Procedure
Estimated Time: \~20 minutes
Load Sample
1. Open the valve to the Argon vent line.
2. Once the chamber has vented, close the Argon
valve. Note: As long as the tool is off, the internal
vent valve is open, so the tool will continuously flow
Argon if the external valve is left open.
3. Open the chamber lid and remove the glass jar of
the sputter chamber, placing it on a wipe. Be
careful not to break or chip the glass, especially
along the rims where it must form a seal. Do not place it on a hard or rough surface. 4. Place your sample on the sample holder.
5. Replace the glass jar over the sample and close the chamber lid.
6. Turn on the power to the system.
7. The pump will turn on and begin pumping the chamber. Check the seals to make sure there are no leaks and the chamber is pumping normally.
Edit Recipe
1. Determine the current and time of the
sputtering you will need in order to get the
thickness of gold you require. Use the graph
of sputtering rates for different current
settings.
2. Hold down SET mA to display the set
current in the timer display. Use the up and
down arrows next to the display to change
the setting.
3. Hold down PAUSE/TEST and use the up or
down arrows next to the timer display to set
the time.
Run Recipe
1. Once the chamber is pumped down to around 0.01 mbar, flush the chamber with argon 2- 3 times. Press FLUSH once to turn on the flow of Argon in the chamber and then press it again to turn it off. Allow the chamber to pump back down to around 0.01 mbar between flushes.
2. Turn on the flow of Argon to be ionized during the sputtering by turning on LEAK. Allow the chamber pressure to stabilize at 0.08 mbar.
3. Press START to begin the sputtering. A purplish glow from ionized Argon should be visible around the gold sputtering target in the lid of the chamber while the timer counts down from the set time.
4. Once the sputtering has ended, turn off LEAK.
5. Flush the chamber once more.
6. Turn off the power to the system.
Unload Sample
1. Open the valve to the Argon vent line.
2. Once the chamber is finished venting, close the valve to the Argon vent line. 3. Open the chamber lid and remove the glass jar of the sputter chamber, placing it on a wipe. Be careful not to break or chip the glass, especially along the rims where it forms a seal. Do not place it on a hard or rough surface.
4. Remove your sample.
5. Wipe the inside of the glass jar and the sample holder with IPA to remove the gold that has been deposited. Replace the glass jar over the sample holder and close the chamber lid.
6. Turn on the tool for a minute to pump the chamber and leave it at vacuum.
Emergency Stop
- If the tool begins to malfunction, turn off the power. Be sure the argon valve is turned off also.
Allowed Activities
- Users can set the power and time as necessary, but they should not deposit more than 20nm of gold without staff permission.
Disallowed Activities
- Users are not allowed to deposit more than 20nm of gold without staff permission.
Common Errors and Troubleshooting-
What to watch out for during operation
- Check for plasma by looking for plasma glow discharge underneath the top of the chamber.
- Make sure to turn off the valve for the venting argon when finished with the tool.
Common Troubleshooting Tips
- If chamber is not pumping down, carefully shift the glass jar from side to side to catch a seal with the top and bottom of the chamber.
When to call staff?
- If the plasma will not ignite.
- The tool will not power on, though first check to be sure it is enabled.
Prepared by: Salam Elhalabi
Date: May 30, 2025
Reviewed/Revised:
Salam Elhalabi