Solvent Lift-Off Hood
Solvents/Lift-Off Hood
Standard Operating Procedure
Section 1: Process Description
The Solvents/Lift-Off Hood is an Air Control stainless steel fume hood designed for non-corrosive chemical work. Located in the metrology bay of the cleanroom, this hood is designated for solvents only and is to be used for cleaning substrates and other samples with solvents and performing post-deposition or post-etch lift-off of photo- and EBL-resists. There are two sonicator tanks built into the hood that can be used to assist with cleaning or lift-off processes.
DI water and dry nitrogen guns are available in the hood for rinsing and blowing dry samples and glassware. Squeeze bottles of isopropanol, acetone and methanol are also available in the hood to be used for rinsing samples. A rack of glassware designated for use in the solvents/lift-off hood only is located near the hood, though users may also bring their own glassware to be used in the hood if so desired. There are three stainless steel carboys located in the hood for disposal of most solvents used in the hood, though any halogenated solvents used in the hood must be disposed of into a separate waste container.
Section 2: Safety Protocols
Potential Hazards
| Hazardous Chemical | Hazard Sign | Hazard Statements |
|---|---|---|
| Isopropanol [Isopropyl alcohol; 2-propanol] | 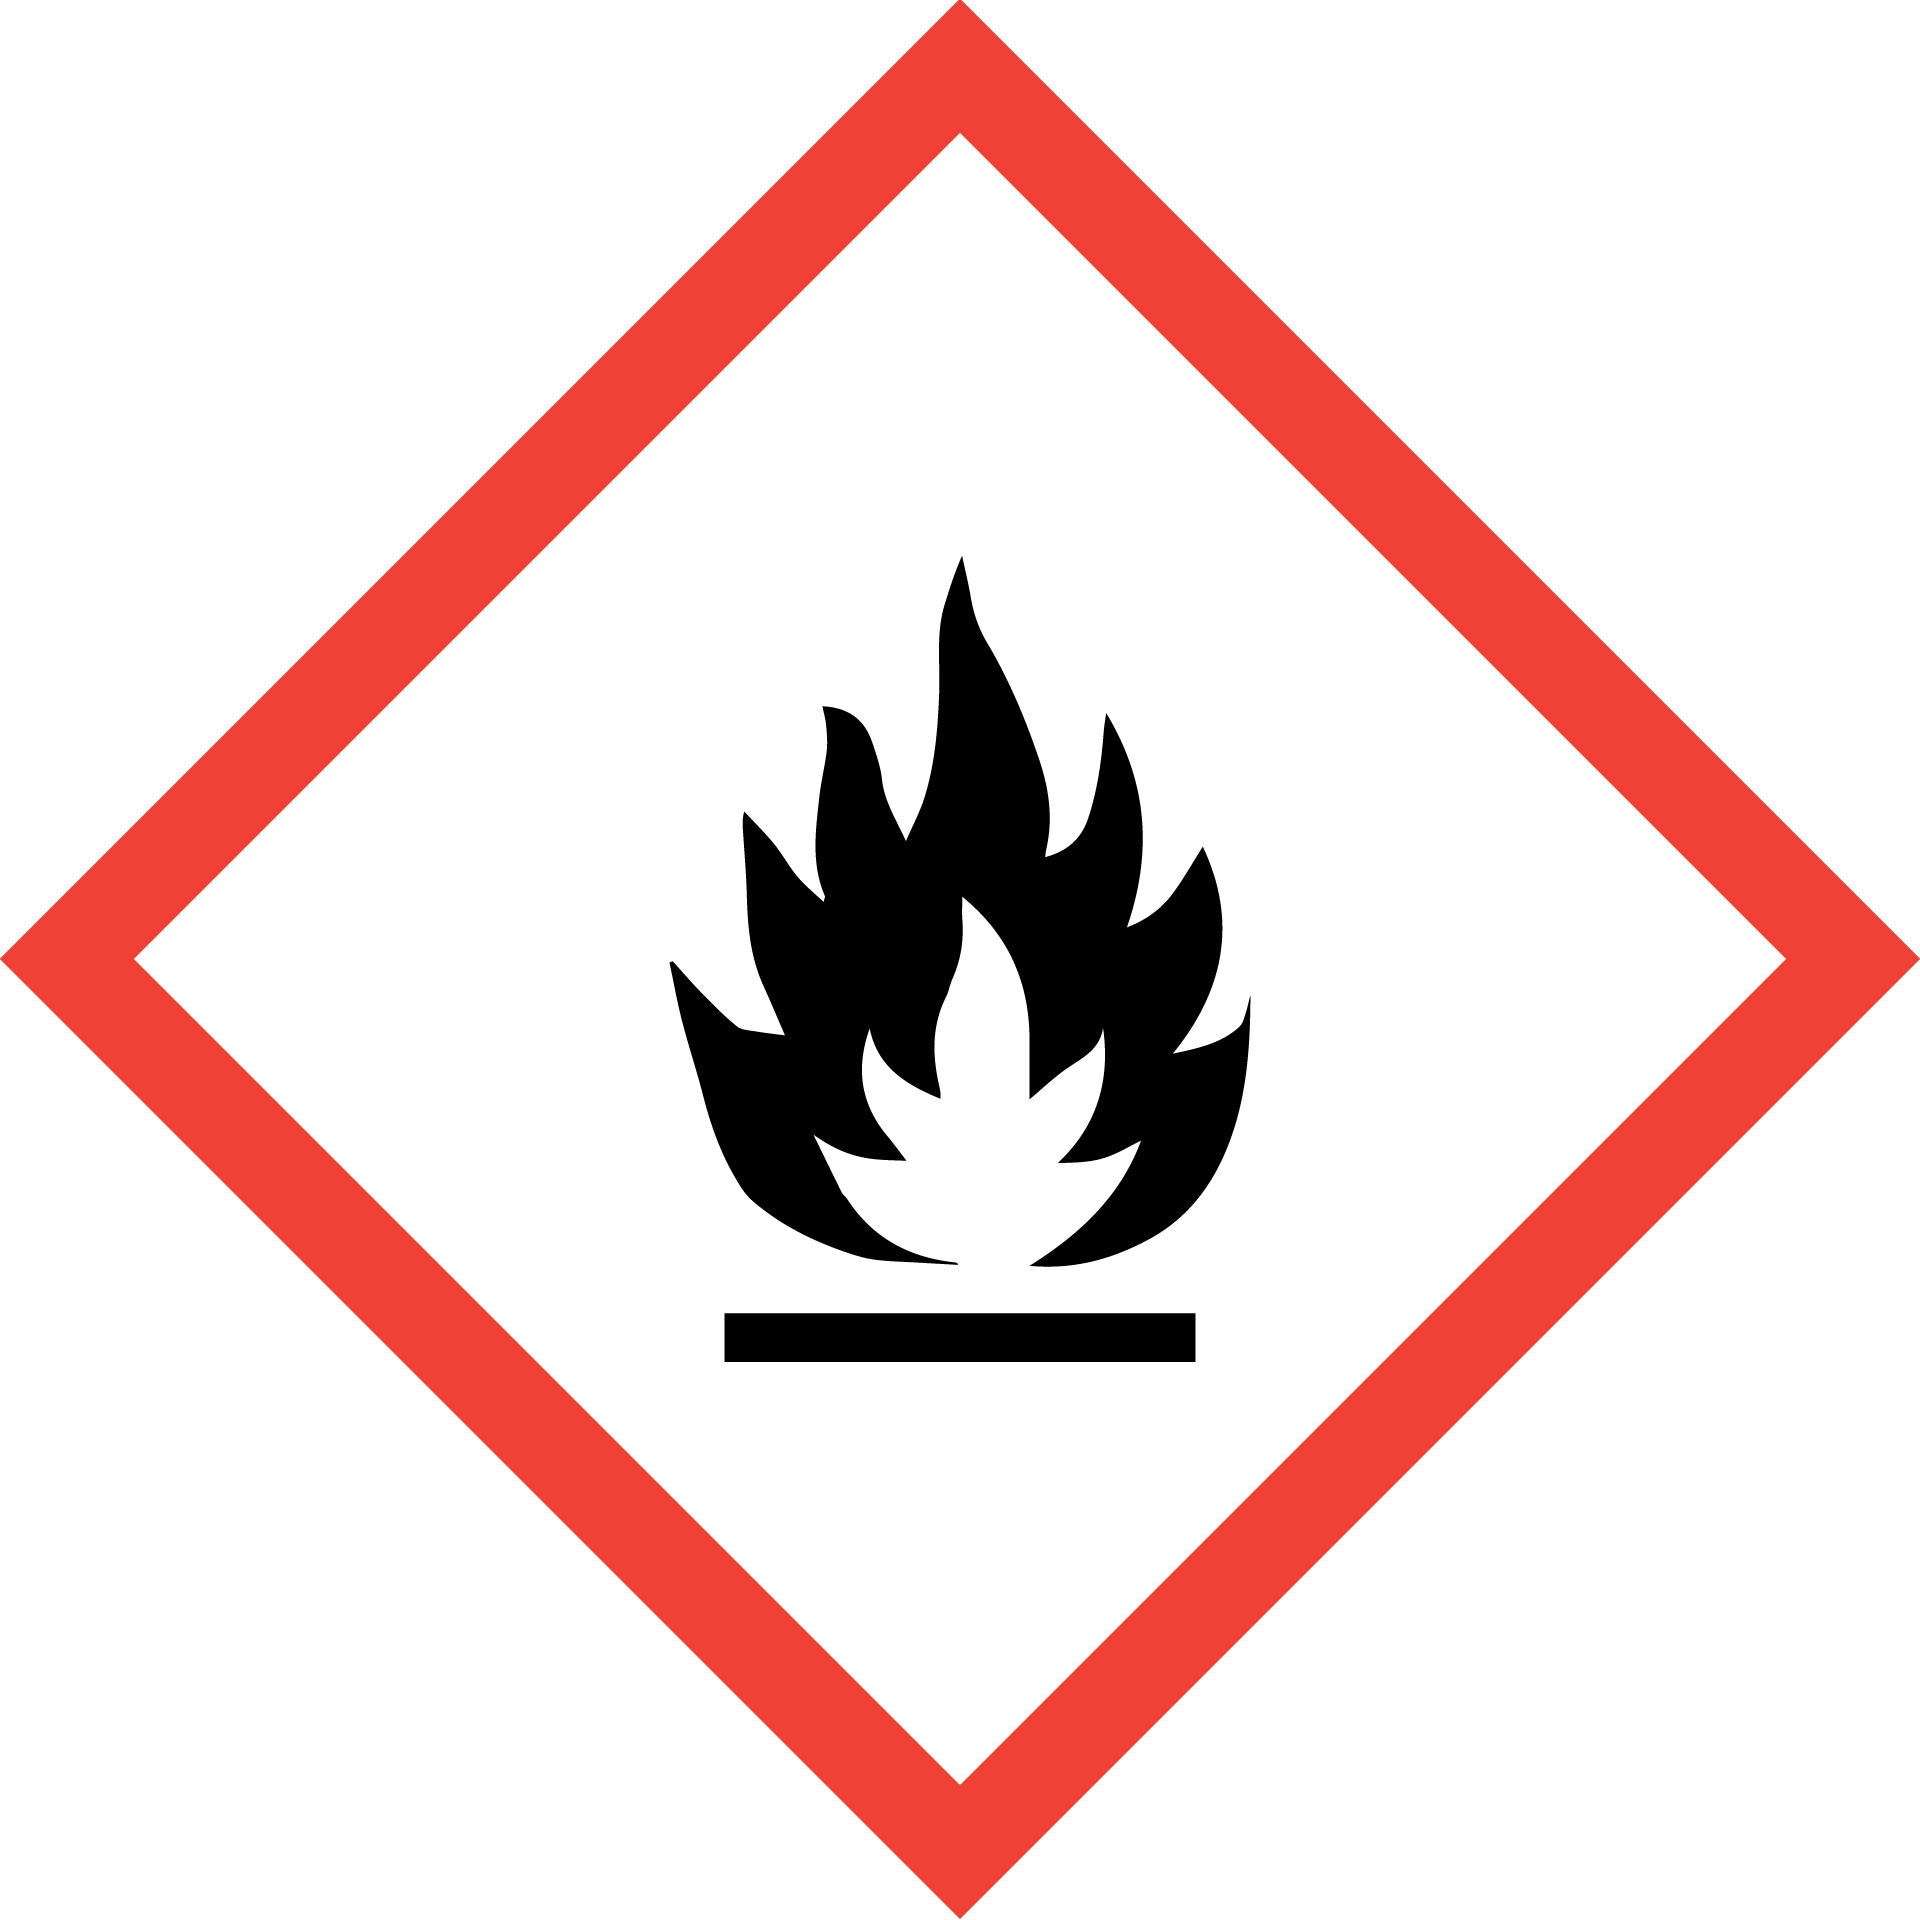 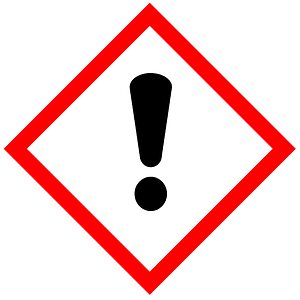 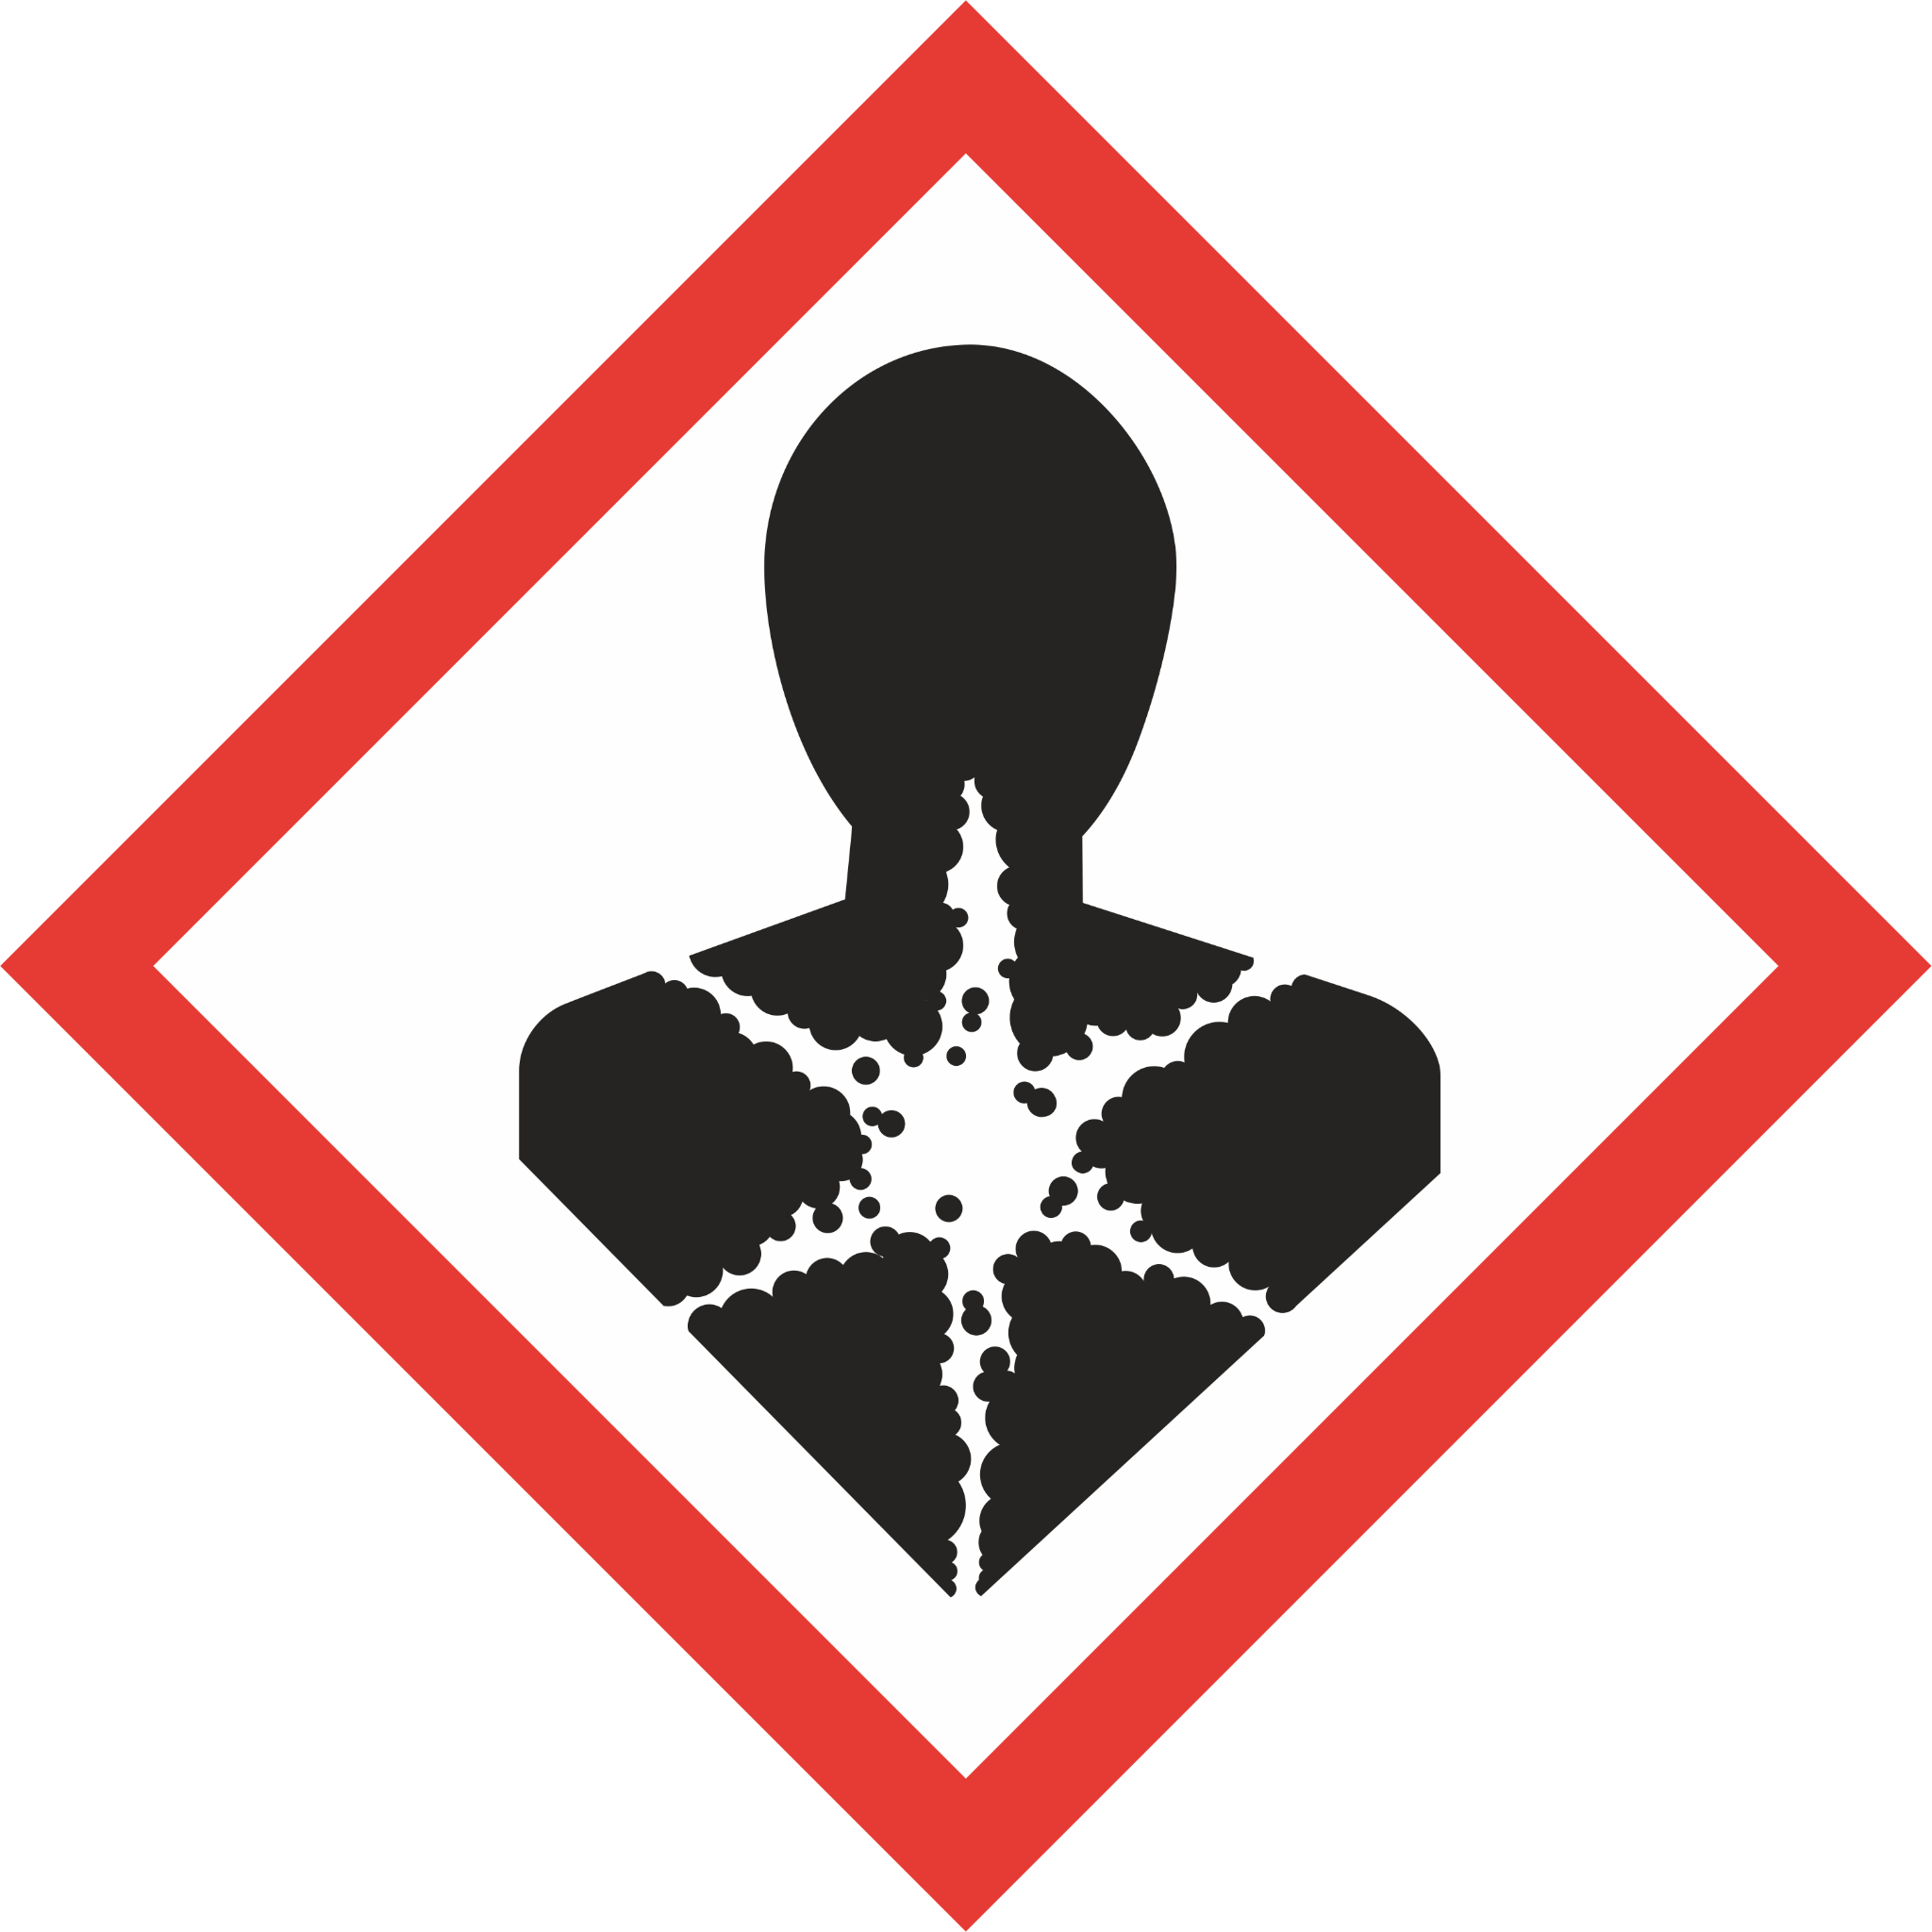 |
Highly flammable liquid and vapor Causes serious eye irritation May cause respiratory irritation May cause drowsiness or dizziness May cause damage to organs through prolonged or repeated exposure |
| Acetone [2-propanone; Dimethyl ketone] | |
Highly flammable liquid and vapor Causes serious eye irritation May cause drowsiness or dizziness May cause damage to organs through prolonged or repeated exposure Repeated exposure may cause skin dryness or cracking |
| Methanol [Methyl alcohol] | 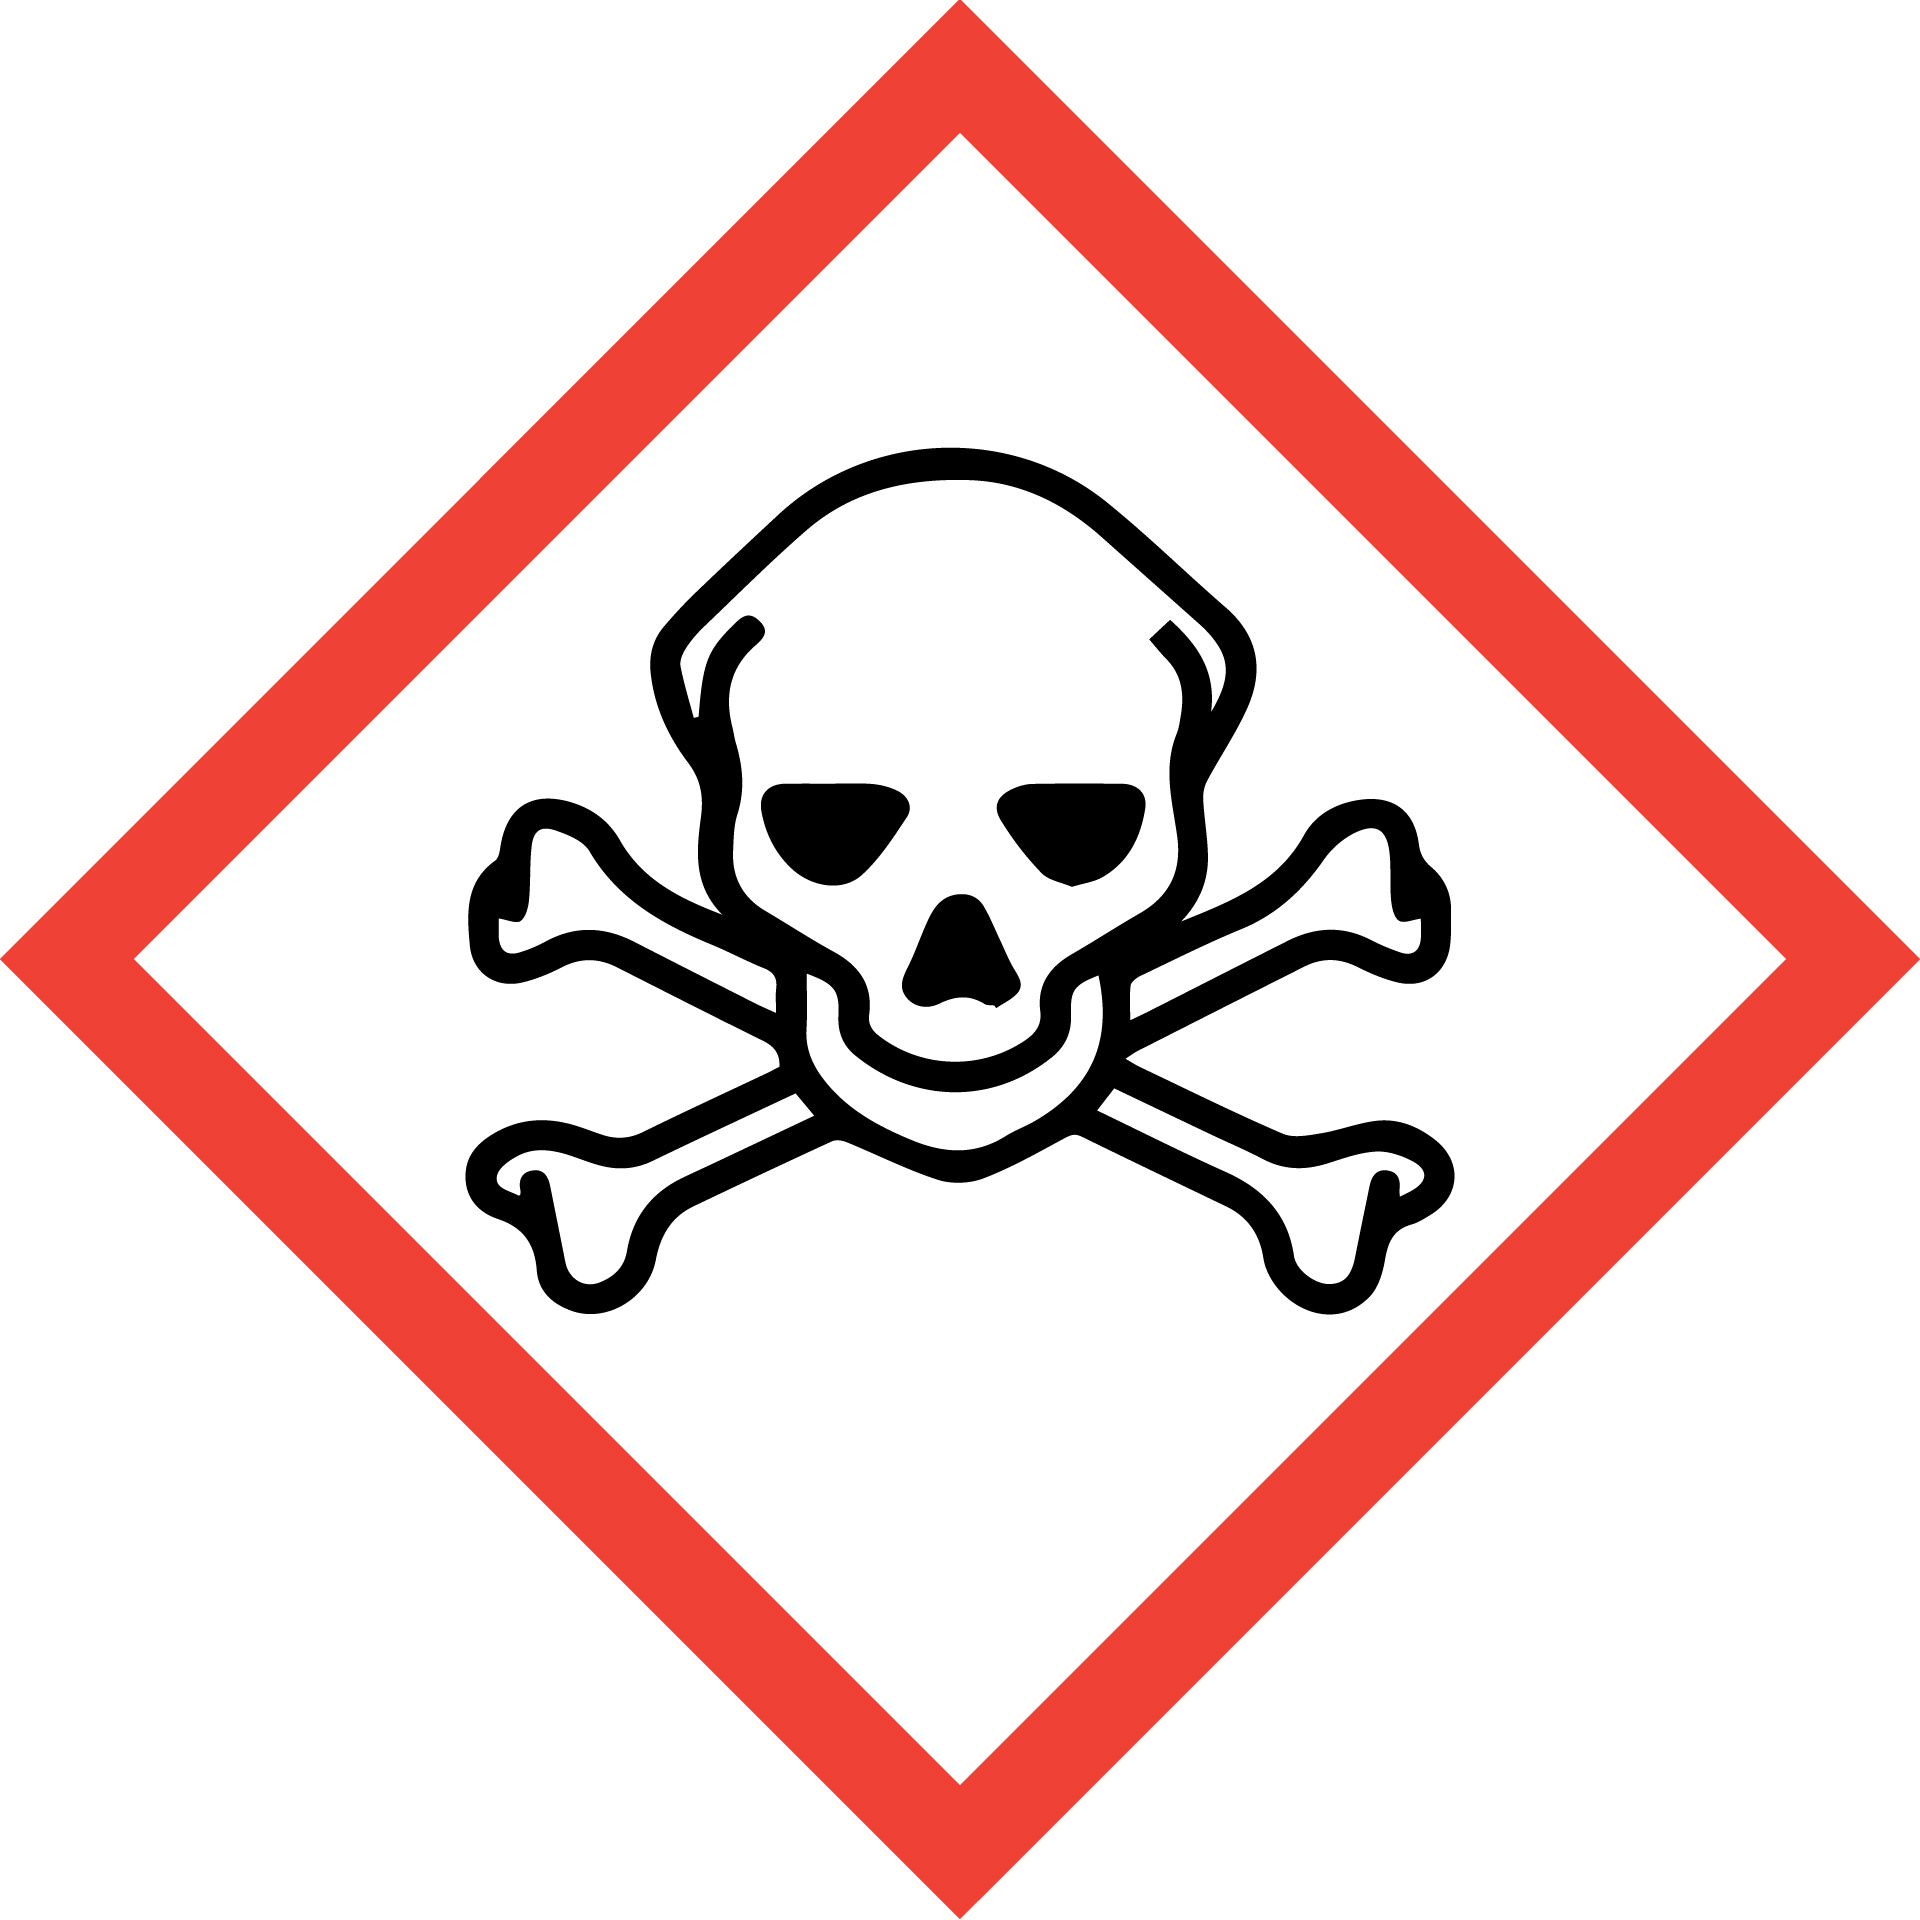 |
Highly flammable liquid and vapor Causes damage to organs (eyes/central nervous system) Toxic if swallowed, in contact with skin or if inhaled |
| Remover PG [NMP; N-methylpyrrolidinone; N-methyl-2-pyrrolidone] | |
Combustible liquid Causes skin irritation Causes serious eye irritation May cause respiratory irritation May damage fertility or the unborn child May cause damage to organs through prolonged or repeated exposure |
| Ethanol [Ethyl alcohol] | |
Highly flammable liquid and vapor Causes serious eye irritation |
| Toluene [Toluol] | |
Highly flammable liquid and vapor May be fatal if swallowed and enters airways Causes skin irritation Causes serious eye irritation May cause drowsiness or dizziness Suspected of damaging fertility or the unborn child May cause damage to organs (central nervous system) through prolonged or repeated exposure |
| Chloroform [Trichloromethane] | |
Harmful if swallowed Toxic if inhaled Causes skin irritation Causes serious eye irritation Suspected of causing cancer Suspected of damaging fertility or the unborn child May cause respiratory irritation May cause drowsiness or dizziness May cause damage to organs (liver, kidney) through prolonged or repeated exposure |
Physical Hazards
| Hazard | Hazard Sign | Hazard Statements |
|---|---|---|
| Pressurized gas |  |
Nitrogen guns in the hood are pressurized |
| Hot Plate |  |
Can cause severe thermal burns |
Routes of Exposure
There is a risk of skin or eye exposure when handling chemicals that can be mitigated by wearing proper PPE.
There is an inhalation risk when using chemicals, which must only be opened and handled under a fume hood to reduce or eliminate exposure. Check the photohelic exhaust monitor located at the top left corner of the fume hood to ensure that the exhaust is active and at an adequate level before doing any chemical work in the hood.
There is a risk of launching objects by spraying them with the nitrogen guns in the hood that can be mitigated by always aiming the nitrogen gun into the hood and away from people.
There is a risk of splattering chemicals by spraying them with the nitrogen guns in the hood that can be mitigated by always aiming the nitrogen gun into the hood and away from people and never directly spraying chemicals with the nitrogen guns.
There is a risk of severe skin burns if a hotplate is touched, which can be prevented by using tweezers when handling samples on the hotplate and never touching it directly with hands or other body parts. When heating chemicals in glassware on a hotplate, do remove from the hotplate until the hotplate has been turned off and the chemicals have returned to room temperature.
Personal Protective Equipment Requirements
Users must be wearing the nitrile cleanroom gloves required throughout the cleanroom at all times. It is also recommended that users wear a second pair of gloves over the first pair. Chemicals may splash onto gloves, which could lead to contaminating other equipment in the cleanroom if gloves are not changed after using chemicals. Wearing a second pair of gloves makes it easier to remove, dispose of and replace soiled gloves.
Safety glasses are required when using the solvents hood.
Waste Disposal
Solvents
There are three chemical waste slots in the back of the solvents/lift-off hood that drain to stainless steel carboys under the hood. All regular solvents, such as isopropanol, acetone, methanol, ethanol, toluene, and NMP (Remover PG) should go into the carboys. Any of these solvents can go into any of the three carboys in spite of the labeling above them.
Halogenated Solvents
Halogenated solvents, such as chloroform, must be disposed of in a waste bottle and stored in the chemical waste cabinet in the lithography bay. The waste bottle must be labelled with the full names of the chemical contents, meaning no abbreviations or tradenames are to be used on the label. Generally, there should already be a waste bottle set up in the waste cabinet for halogenated solvents.
Sonicator Tank
The sonicator tanks in the hood also drain into the carboys, so if the tank is filled with solvents. Water put into the tank will also have to be drained into the carboy, so when filling with water do not fill to excess. Instead, use just enough water so that the sensor in the control screen indicates it is full. There is a drain button in the sonicator tank control screen in the hood’s control screen. When the button is green, the drain is open.
Soiled Wipes and Gloves
Dispose of gloves and wipes soiled with chemicals in a red hazardous waste bin.
Sharps
Dispose of any used pipettes or swabs in the sharps waste container.
Dispose of used or failed substrates in a sharps waste container.
Dispose of broken chemical glassware in a sharps waste container.
Section 3: Process
Preparation
-
Check whether any users have any of the slots for the “Solvent/Lift-Off Hood” in Badger enabled. If so, confirm that they’re actually still using the hood. Users should have the hood enabled as long as they have chemicals in the hood. If all slots are enabled, you cannot use the hood until 1 of them opens.
-
Enable one of the “Solvent/Lift-Off Hood” user slots in Badger.
-
Check the state of the hood:
-
If other users have chemistry in the hood, coordinate with them so your work in the hood does not overlap too much with theirs. While four users can have chemistry in the hood at the same time, only two users can be working at the hood at any time.
-
Check the photohelic exhaust monitor located at the top left corner of the fume hood to ensure that the exhaust is active and at an adequate level.
-
Check the status of the carboys in the hood controls if you will be disposing of solvents that go into the carboys.
-
Confirm that the hood is in a clean and safe state. If other users’ chemistry is in the hood, it should be towards the back of the hood and unattended chemicals must be covered.
-
Solvent Cleaning or Lift-Off
- Get one glass beaker that will fit your samples for processing from the “Solvent/Lift-Off Hood Supplies” glassware rack along the wall to the right of the hood.
- Rinse the beaker with IPA or a very small amount of DI water prior to beginning the process. Since there is no sink in this hood, all waste must go into a carboy, so it is advised that excessive amounts of water should not be used and disposed of in the carboy.
- Blow the beaker semi-dry with the N2 gun and place it on a cleanroom wipe in the hood.
- Retrieve the required solvent from the solvents cabinet. If you plan to use Remover PG (NMP), but your group does not already have its own bottle, you must request a bottle from the cleanroom staff. If using acetone or IPA, pour from the main bottles stored in the solvent cabinet. DO NOT open and pour acetone or IPA from the squeeze bottles kept in the hood.
- Carefully pour enough solvent into the beaker so that your sample will be completely submerged in it.
- Place your sample into the solvent using tweezers and begin agitating the solution.
- If you are heating your sample to assist with lift-off, place the beaker containing your sample and solvent onto the hotplate in the hood. The setting on the hotplate should never be set over 100°C.
If you are using Remover PG, it is safe to leave it on the hotplate overnight so long as it is covered and labeled. DO NOT overheat Remover PG as it can burn.
If you are heating IPA or acetone, you cannot leave your chemicals unattended while they’re on the hotplate as they will likely boil off quickly. It is typically not recommended to heat IPA or acetone. - Allow your samples to sit in the solvent for the duration of time required to develop your features. If you are leaving your chemistry unattended for this time, make sure there is a label with your name, the date and chemical contents next to it, and leave the Badger slot for the hood enabled while your chemicals remain in the hood.
Solvent Rinse
- Get one more glass beaker that will fit your samples for processing from the “Solvent/Lift-Off Hood Supplies” glassware rack along the wall to the right of the hood.
- Rinse the beaker with IPA or a very small amount of DI water prior to beginning the process. Since there is no sink in this hood, all waste must go into a carboy, so it is advised that excessive amounts of water should not be used and disposed of in the carboy.
- Blow the beaker semi-dry with the N2 gun and place it on a cleanroom wipe in the hood.
- Retrieve a bottle of IPA from the solvents cabinet. DO NOT open and pour IPA from the squeeze bottles kept in the hood.
- Carefully pour enough IPA into the beaker so that your sample will be completely submerged in it.
- When the clean or lift-off of your sample is complete, remove your sample from the solvent with tweezers. It is often best to use a small trickle of another solvent from a squeeze bottle to rinse your sample and break the surface tension of the chemical solution as you remove your sample so don’t coat your sample with contaminants as you take it out.
- Transfer the sample carefully to the new beaker of IPA.
- Let the sample soak in IPA for 1 minute, agitating it to help remove any left over particulates.
- Remove the sample from the IPA with the tweezers. It is often best to use a small trickle of IPA from a squeeze bottle to rinse your sample and break the surface tension of the chemical solution as you remove your sample so don’t coat your sample with contaminants as you take it out.
- Rinse the sample with IPA over the beaker.
Sample Dry
- After the IPA rinse is finished, immediately blow the sample dry with the N2 gun. Be careful to use a full blast of nitrogen as it is easy to blow your sample out of the tweezers if it is too strong.
Cleanup
- Carefully pour the solvent waste into one of the carboy drains at the back of the hood.
- Rinse the beakers with IPA multiple times (typically 3 times or more), pouring the waste into a carboy drain, and then blow it as dry as possible with the N2 gun.
- If you wish to also rinse with DI water, take the beakers to the Litho-Development Hood in the Lithography Bay to do so in the sink in that hood. This is optional, but it can help to remove any leftover solvent residue from the glassware.
- Return all glassware to a drawer in the litho-development glassware rack.
Section 4: Accident Procedure
Chemical Exposure
- Skin: Remove contaminated clothing, wash skin with soap and water. If there is any irritation, get immediate medical attention.
- Eye: Immediately flush with water for at least 15 minutes while lifting upper and lower eyelids occasionally. Get immediate medical attention.
- Ingestion: Do not induce vomiting. Get immediate medical attention.
- Inhalation: Remove to fresh air. Resuscitate if necessary. Take care not to inhale any fumes released from the victim’s lungs. Get immediate medical attention.
Spills
Small Spill Within the Hood
If a small spill occurs and is fully contained within the hood:
- Wipe up the spill using appropriate wipes and dispose of them in the designated waste container.
- If wipes are insufficient, use the absorbent pads stored in the bottom right corner of the hood.
- If you are unsure how to clean up the material or feel uncomfortable doing so, notify staff immediately.
Medium or Large Spill Within the Hood - Always staff
If the spill requires use of an absorbent pillow from the spill kit:
- Notify staff immediately.
- If the spill occurs after hours, contact cleanroom staff and post a message on Slack to alert other users not to use the hood until it has been properly cleaned and cleared by staff.
Any Spill Outside the Hood
If a spill occurs outside the hood:
- Notify cleanroom staff immediately.
- Evacuate the immediate area (typically the entire bay containing the hood).
- If the spill occurs after hours, contact cleanroom staff and post a message on Slack to alert others. The cleanroom will remain closed until staff can safely manage the spill.